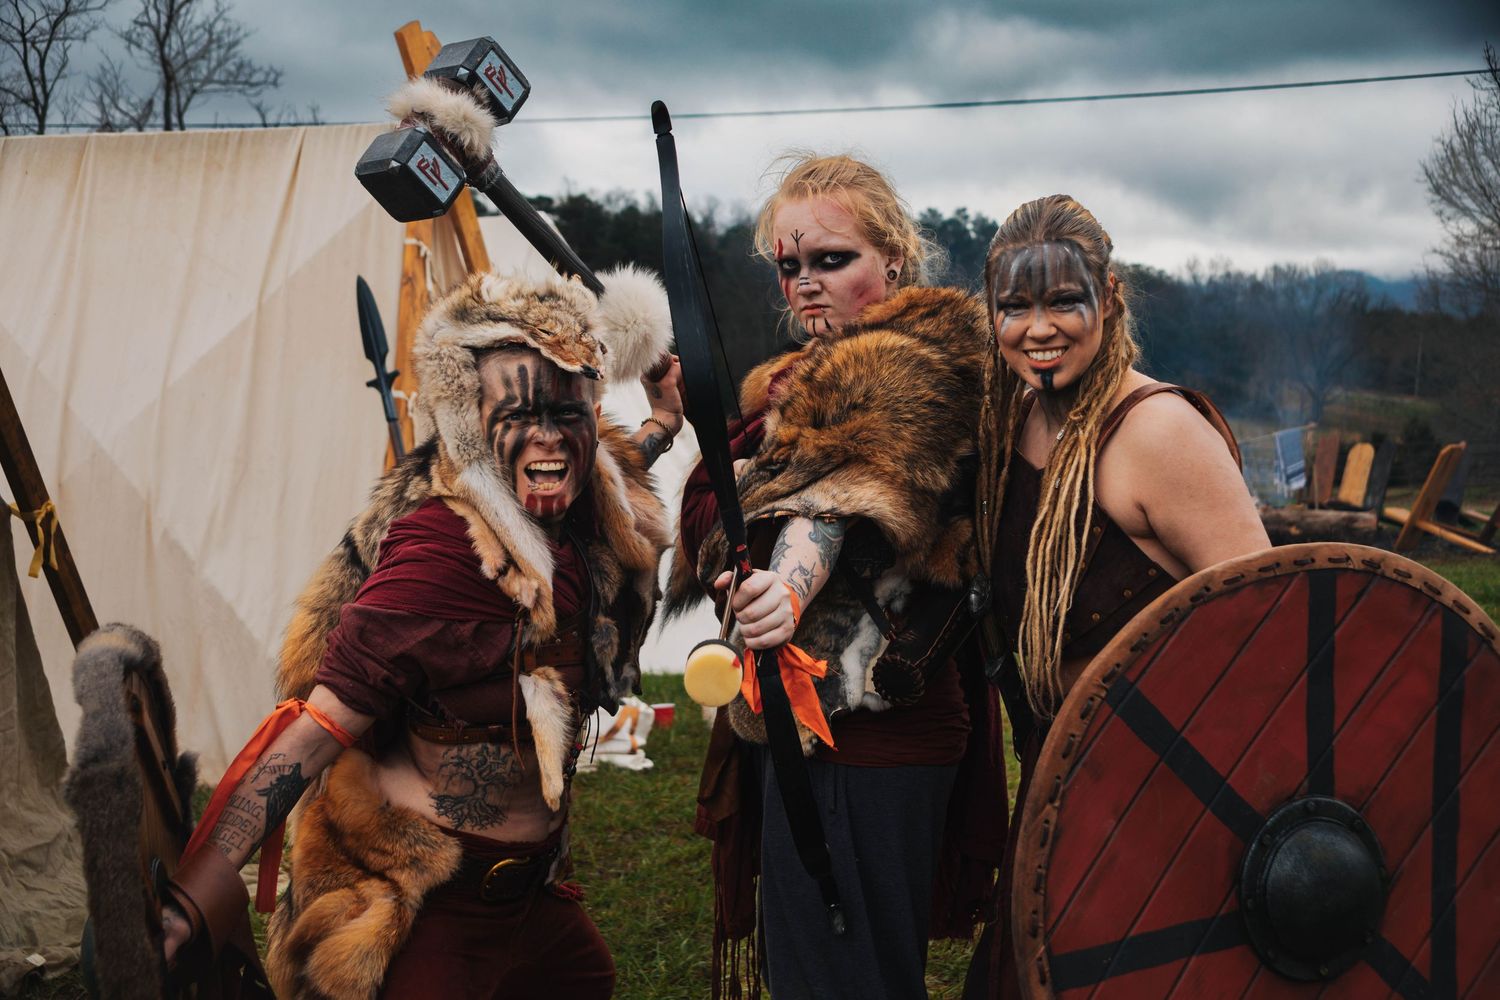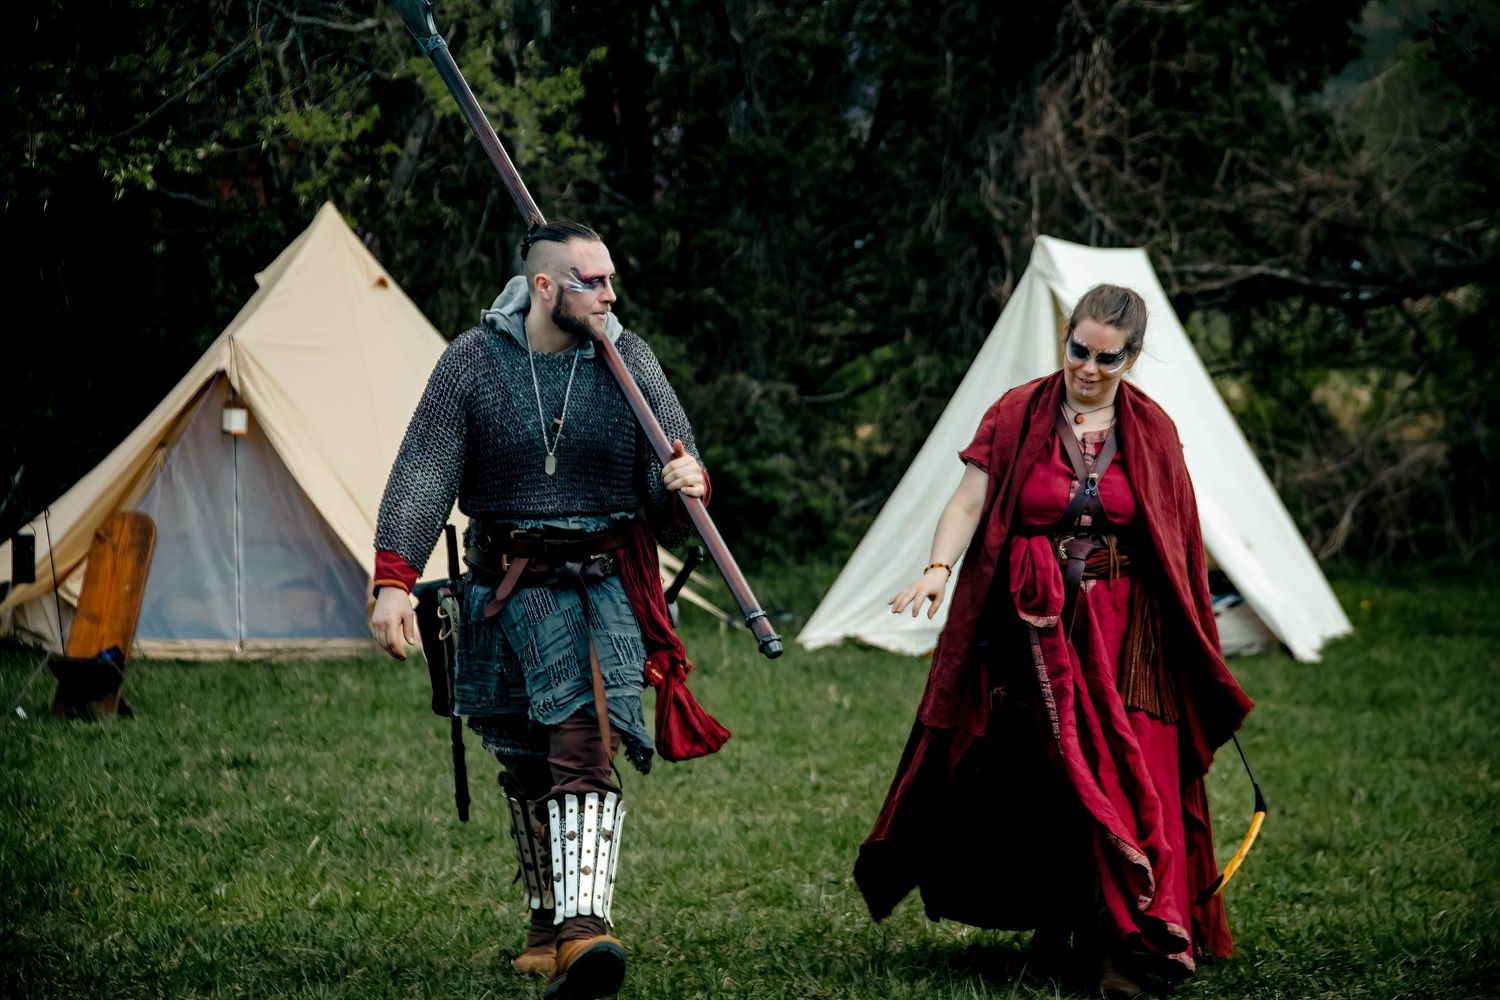
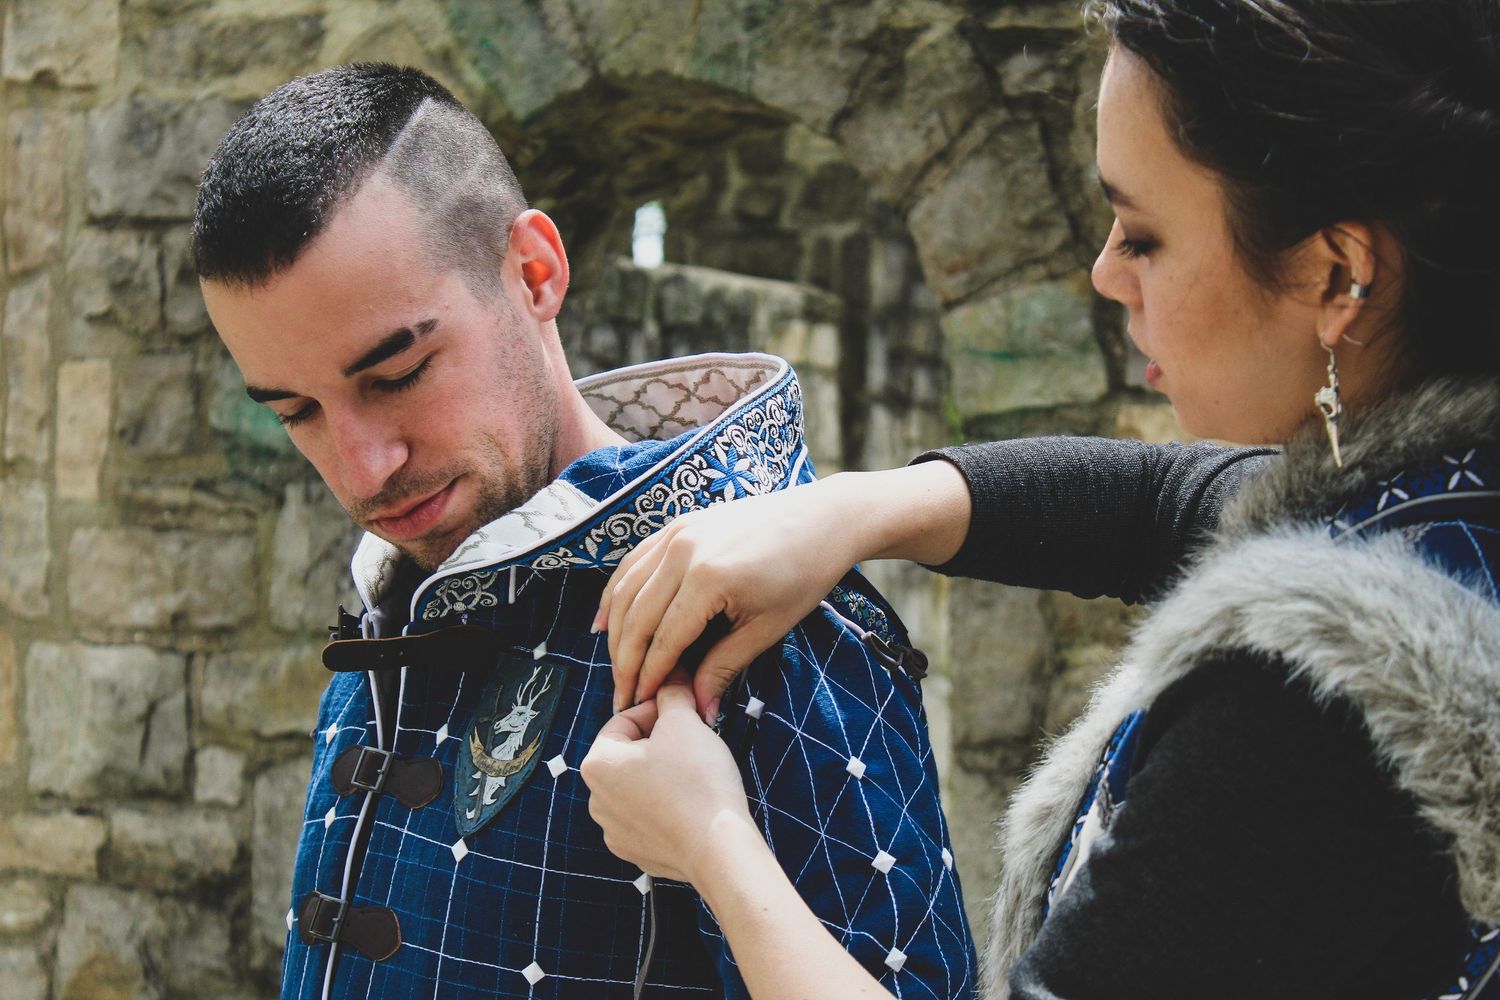
One of the biggest myths in LARP, cosplay, and fantasy roleplay spaces is that looking immersive requires unlimited gold. It doesn’t. Immersion comes from cohesion, intention, and storytelling not price tags.
Whether you’re a brand-new adventurer or a seasoned veteran refreshing your kit, here’s how to build (or rebuild) your gear without breaking immersion or your wallet.
1. Start With a Concept, Not a Shopping Cart
Before you buy anything, answer three questions:
Who is my character? (role, culture, vibe)
What do they do most? (combat, diplomacy, ritual, crafting)
What would they realistically own first?
A clear concept prevents impulse buys that don’t match your story. A simple, well-aligned kit always looks more immersive than an expensive mismatch.
✨ Immersion hack: Write a one-paragraph backstory and pull keywords from it (colors, materials, status level).
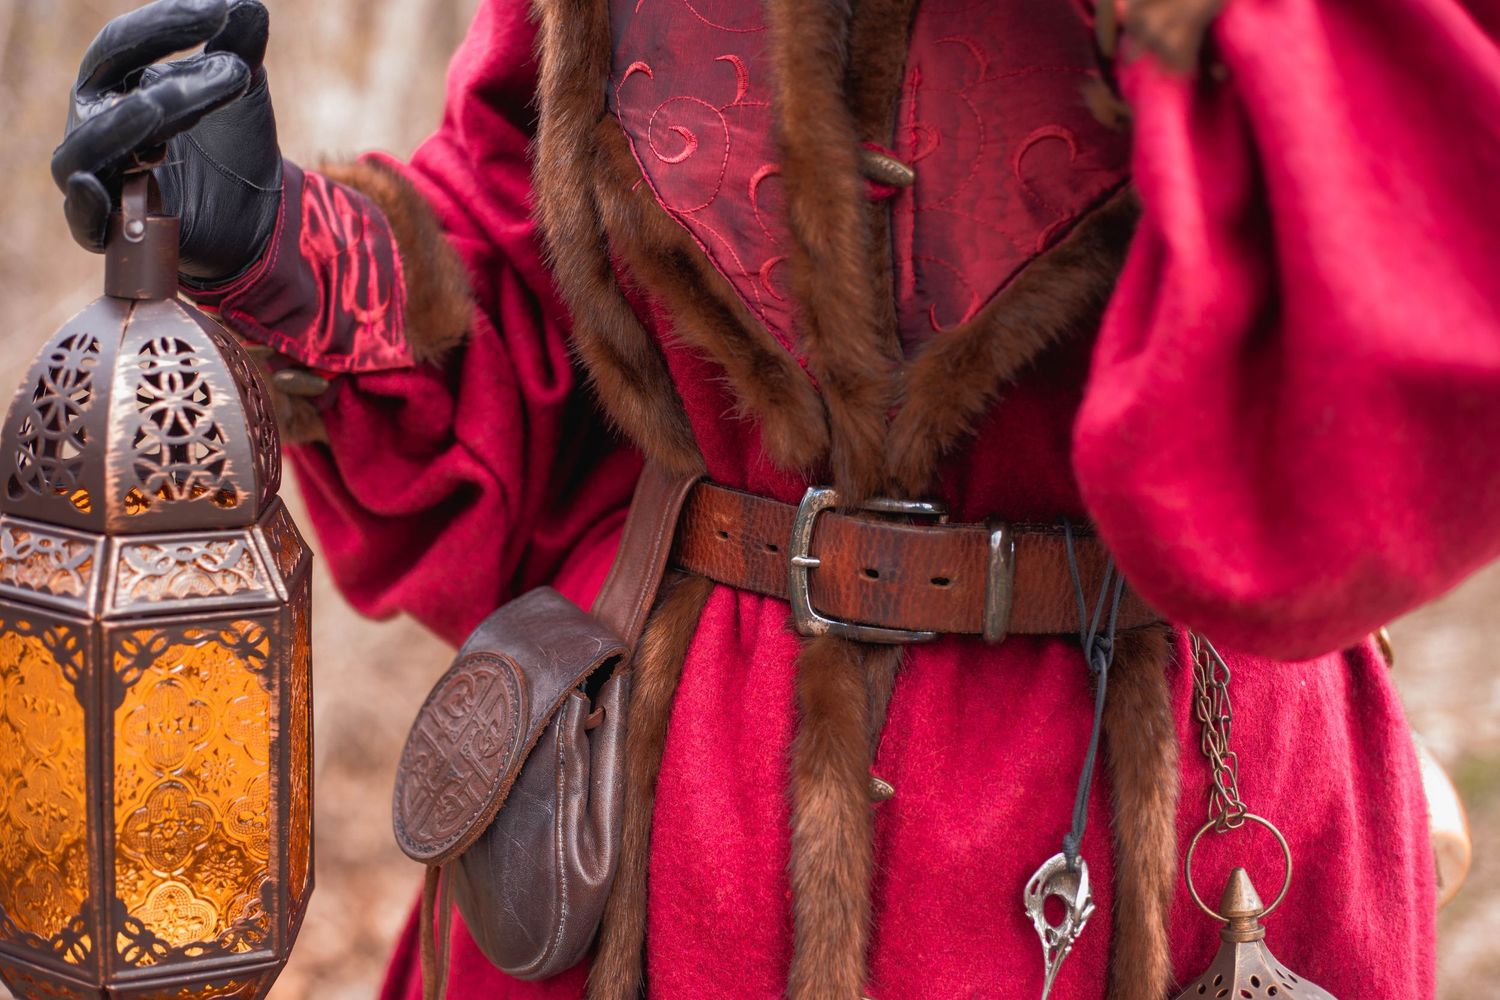
2. Build in Layers (Over Time)
You don’t need a full kit on day one. Think in tiers:
Tier 1 – Survival Kit
Neutral base tunic or dress
Belt + pouch
Boots or boot covers
Tier 2 – Identity Kit
Outer layer (vest, tabard, shawl, armor accent)
Character-defining accessory (holy symbol, book, weapon, focus)
Tier 3 – Prestige Kit
Upgraded fabrics
Embellishments
Secondary outfits or ceremonial wear
Layering lets you upgrade gradually while staying immersive the entire time.
3. Prioritize Silhouette Over Detail
From 10 feet away, people notice:
Shape
Color palette
Movement
They do not notice hand-stitched seams or expensive trims.
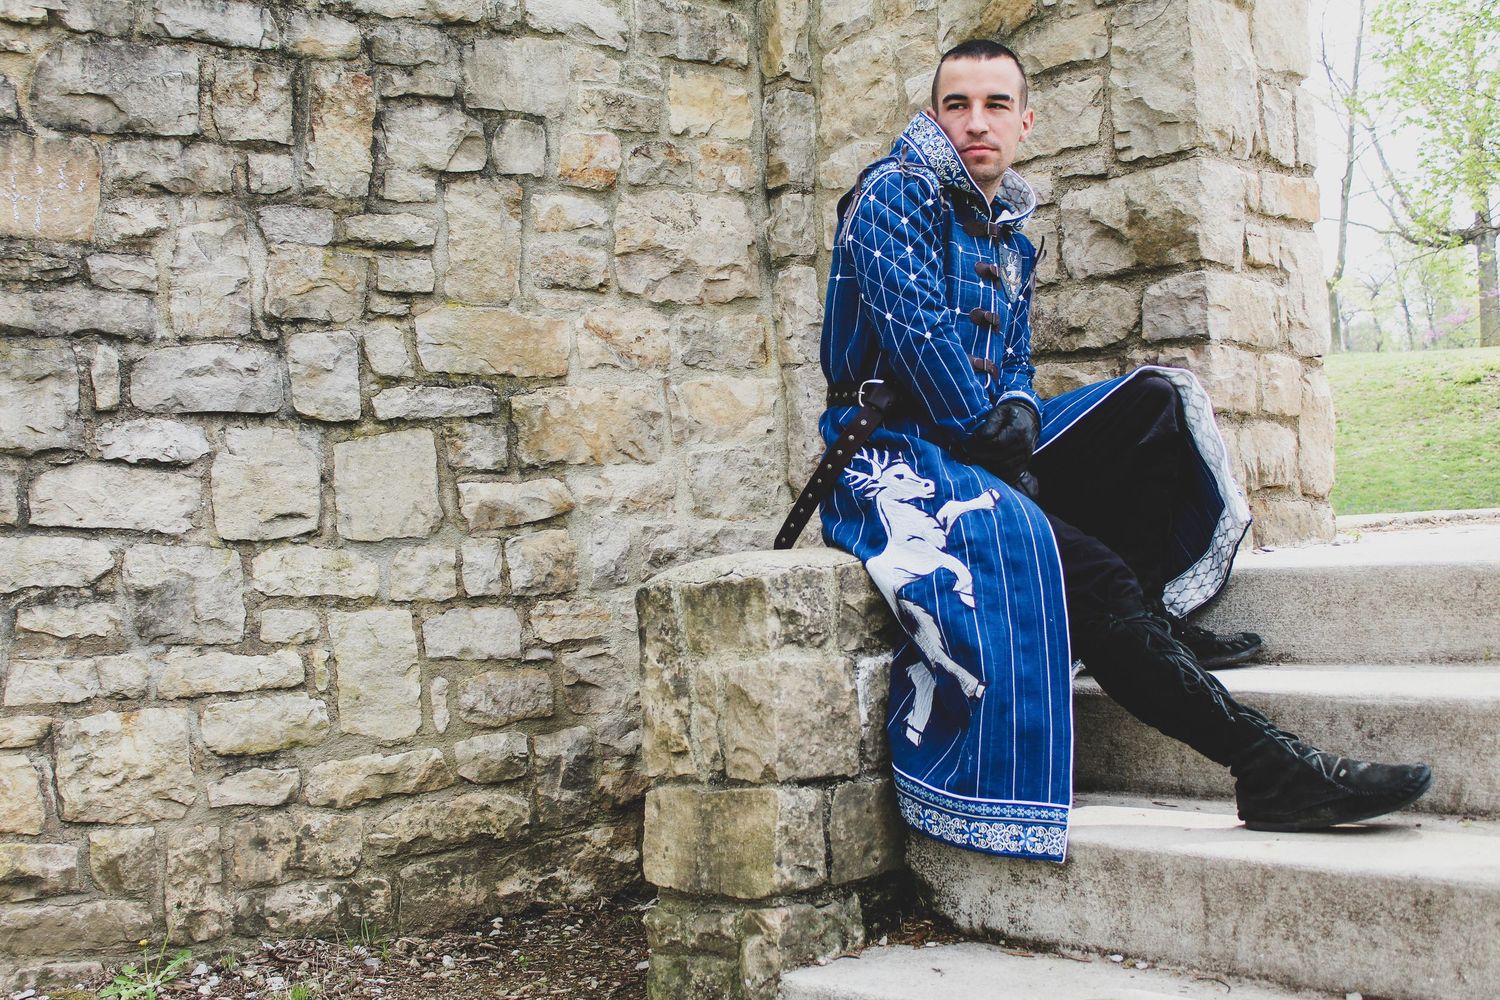
Spend your budget on pieces that change your outline:
Cloaks
Coats
Armor shapes
Structured belts
You can add fine details later silhouette does the heavy lifting.
4. Thrift, Modify, Repeat
Some of the most immersive kits start at:
Thrift stores
Renaissance resale groups
Costume clearance racks
Look for:
Natural fibers (linen, cotton, wool blends)
Neutral or earth tones
Oversized pieces you can tailor
Simple mods go a long way:
Replace modern buttons
Add weathering
Dye lighter fabrics darker
Cut modern hems into asymmetry
✨ Immersion hack: Uneven hems and light wear make gear feel lived in
5. One Statement Piece Changes Everything
If your budget is tight, pick one hero item:
A distinctive cloak
A custom mask
A well-designed weapon
A symbolic necklace or crown
Build everything else to support that piece. One strong focal point elevates an entire kit.
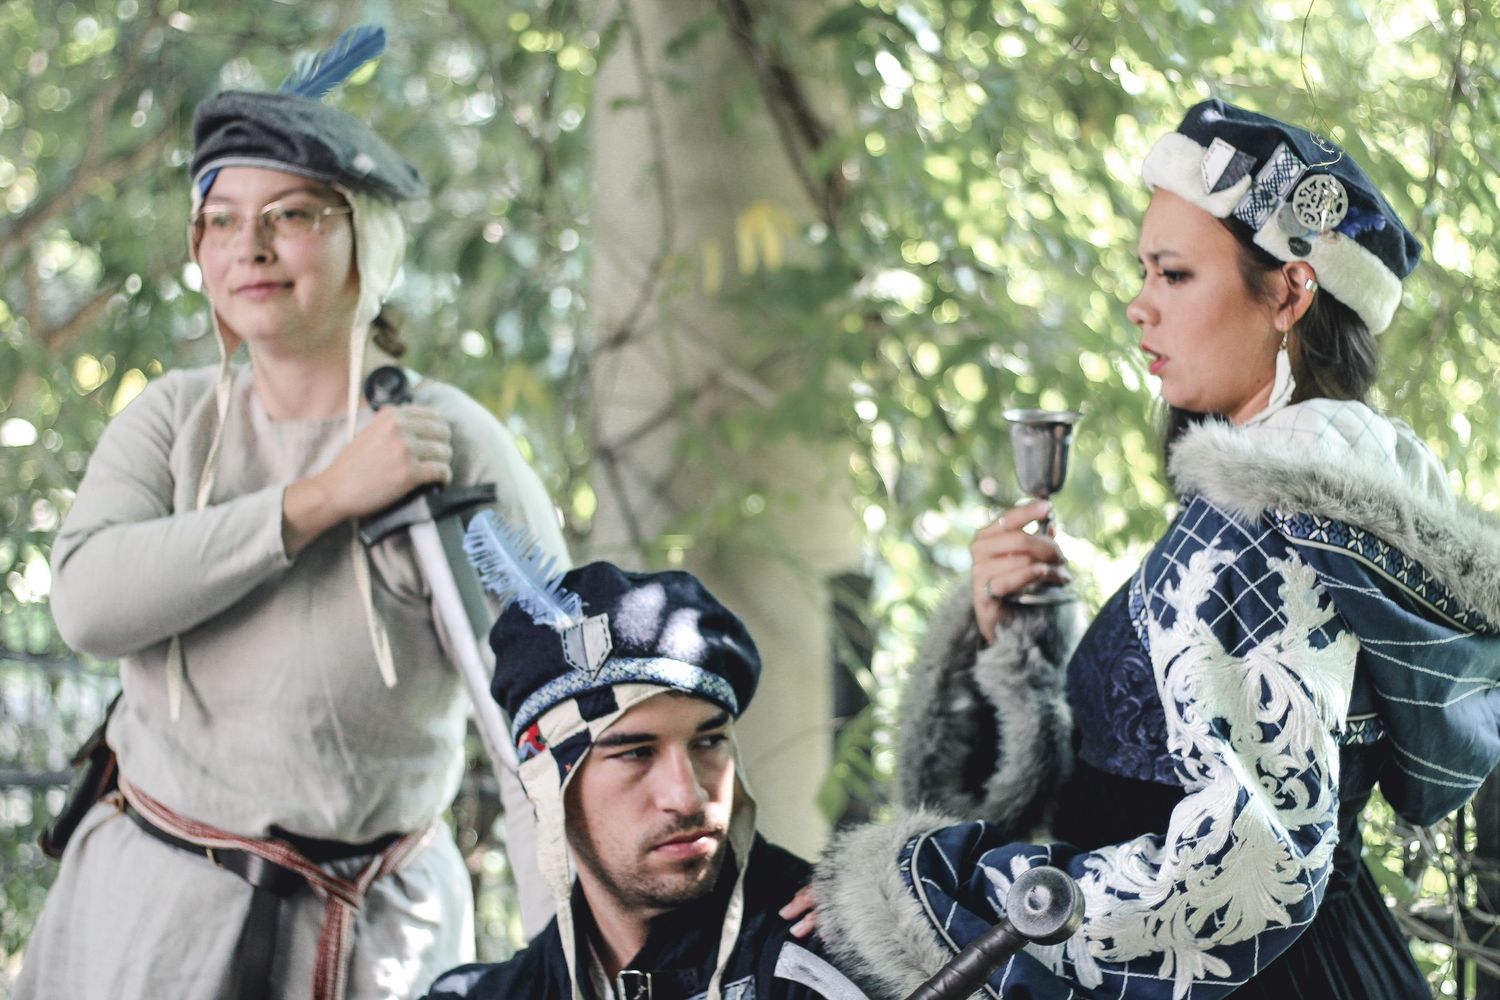
6. Share, Swap, and Borrow
Community is an underrated resource.
Borrow pieces for specific events
Trade items that no longer fit your character
Share crafting supplies
Many veteran players have bins of retired gear they want to see used again.
Immersion thrives when gear has history—especially shared history.
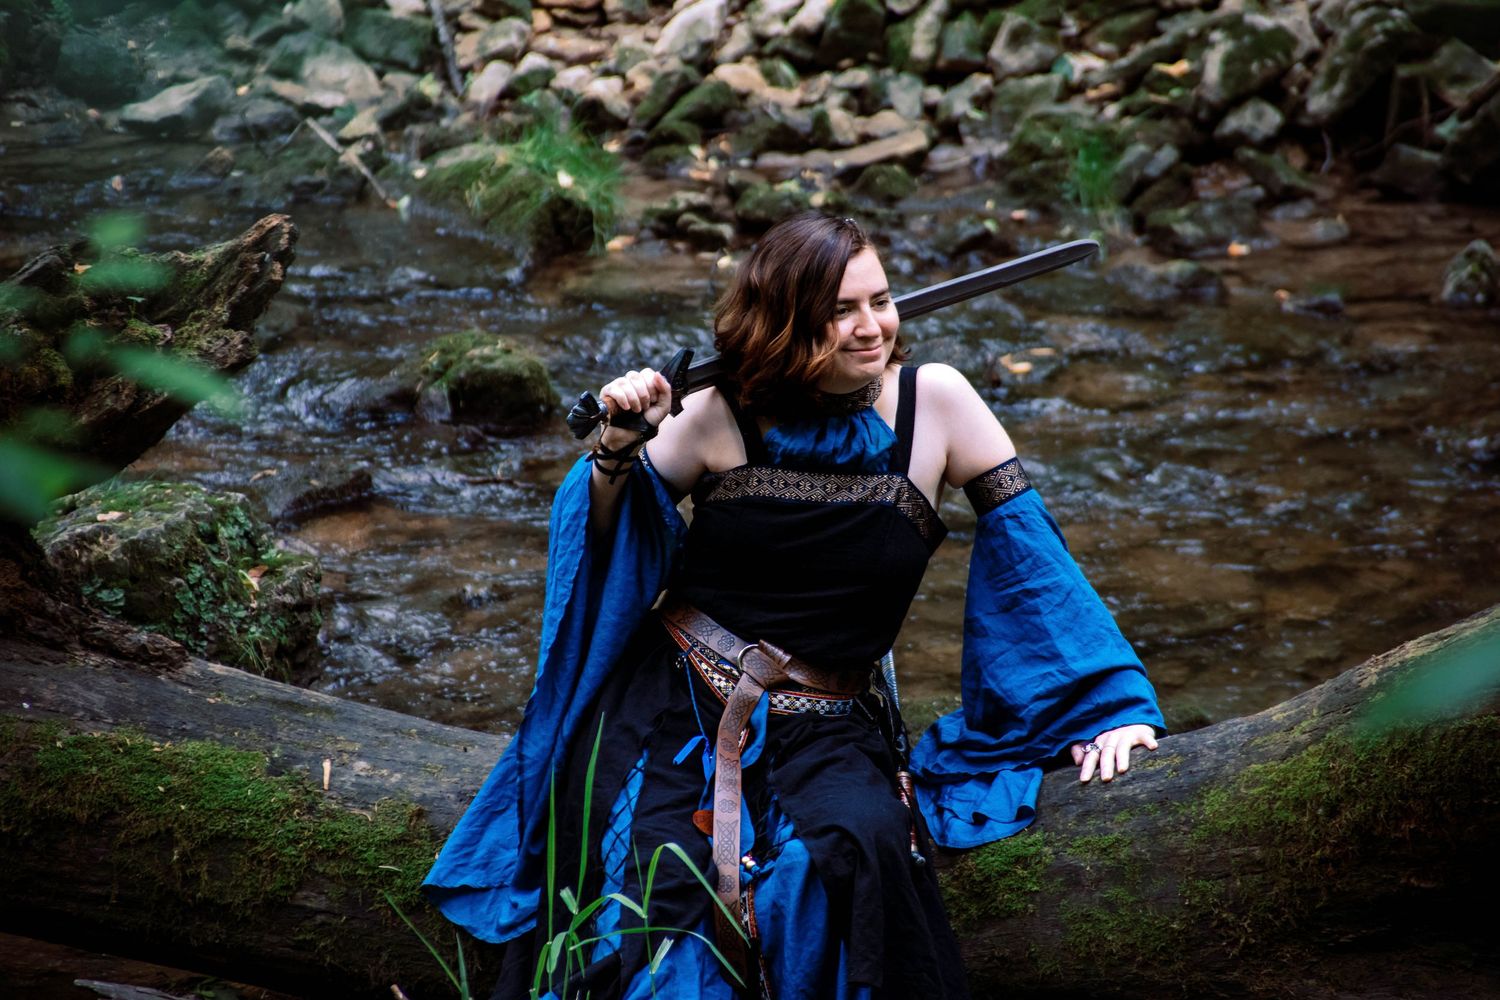
7. Remember: Confidence Is the Final Layer
The most immersive characters aren’t always the most expensive they’re the ones who:
Move with purpose
Stay in character
Believe in their story
A simple kit worn with confidence will always outshine a perfect kit worn nervously.
Photographer’s Eye: How Gear Reads on Camera
Immersion isn’t just about what your kit is it’s about what it reads like in motion and in photos.
Here’s what makes budget-friendly gear look high-end on camera:
- Cohesive palette beats expensive pieces. Two to four main colors (plus one accent) photographs as intentional. Random colors read like “costume bin.”
- Texture shows up more than you think. Linen wrinkles, wool weave, leather grain, faux fur, rough hems textures add realism even in simple light.
- Layers create depth. A base layer + belt + outer layer gives the camera foreground/midground/background to work with, which instantly feels cinematic.
- Avoid harsh modern shine. Glossy synthetics can reflect flash and look “plastic.” If you can’t replace it, dull it with weathering, matte spray (test first), or fabric overlays.
- The camera loves a strong silhouette. Cloaks, hoods, tabards, structured belts, and shoulder pieces make you look like a character from 20 feet away.
- Accessories matter in close-ups. Rings, wraps, straps, pouches, and small props make hands and waist shots feel lived-in.
Quick test: Take a phone photo from 10 feet away and one close-up. If it reads as your character in both, you’re golden.
You don’t need to spend more you need to spend smarter.
Build slowly. Choose intentionally. Let your kit grow with your character.
Immersion isn’t bought. It’s crafted.
—
Want more guides like this? Follow along for character-building tips, gear breakdowns, and immersive photography insights designed for LARP, cosplay, and fantasy communities.